Log #28 · Sep 27, 2026
Choosing a Chassis for Your First Robot
Two-wheel, four-wheel, tracked or DIY? Compare robot chassis types by steering, terrain and difficulty, and learn how to check motor and battery fit.
The chassis is the body of your robot: the base plate, motors, wheels and mounting points for everything else. It decides how your robot turns, what surfaces it can handle and how much room you have for batteries and boards. Kits are cheap and plentiful, but they differ in ways that matter. This guide compares the common types and gives you a checklist before you buy.
How wheeled robots steer
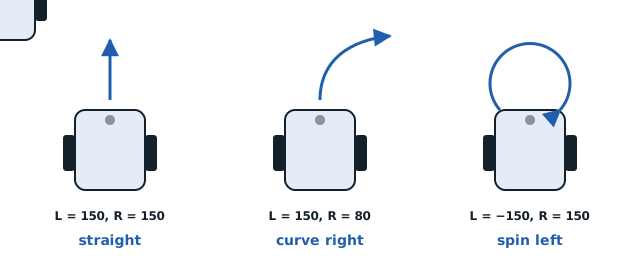
Almost all hobby robots use differential drive: two motors, one per side. Drive both forward and the robot goes straight. Slow one side and it curves. Run them in opposite directions and it spins on the spot. There is no steering mechanism to build, which is why this layout dominates beginner robotics.
The main chassis types
Two wheels plus a caster (2WD)
Two driven wheels and a free-rolling ball or swivel caster for balance. This is the classic acrylic "robot car kit".
- Pros: cheapest, simplest wiring, turns tightly, very predictable steering.
- Cons: small casters snag on carpet edges and bumps; smooth floors only.
- Best for: line followers, obstacle avoiders, learning.
Four-wheel drive (4WD)
Four gear motors, usually wired so each side's pair acts as one motor.
- Pros: more traction and pushing power, handles rougher indoor floors and low grass.
- Cons: turning is skid-steer, so the wheels scrub sideways, which wastes power and makes turns less precise. Twice the motors draw twice the current.
- Best for: outdoor-ish explorers and heavier payloads.
Tracked (tank) chassis
Rubber or plastic tracks on each side.
- Pros: excellent grip on uneven ground, looks great, climbs small obstacles.
- Cons: heavier, slower, tracks can slip off and turning uses a lot of power.
- Best for: rough terrain and rover-style projects.
Two-wheel self-balancing
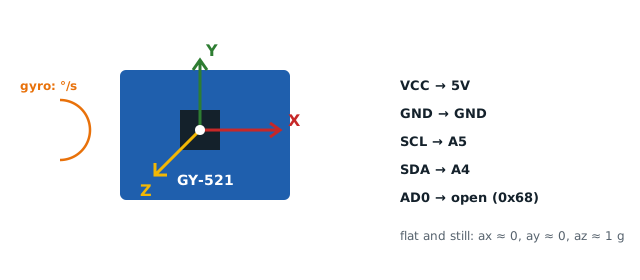
Two wheels and no caster; the robot balances using a motion sensor and a fast control loop.
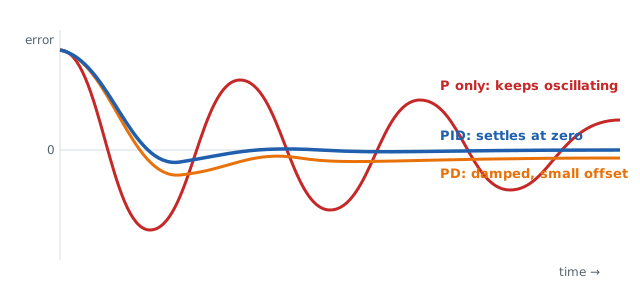
- Pros: impressive, compact, a great PID control challenge.
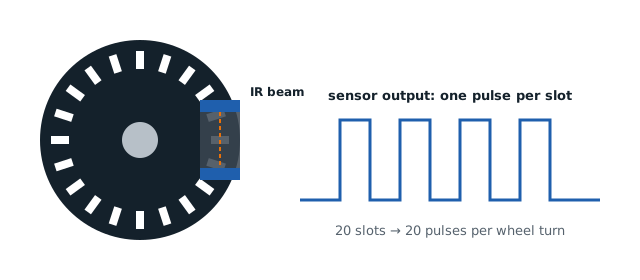
- Cons: hard to tune, needs encoders or good motors and an IMU. Not a first robot.
Comparison
| Type | Difficulty | Terrain | Turning precision | Typical motors |
|---|---|---|---|---|
| 2WD + caster | Easy | Smooth floors | High | 2 × TT gear motors |
| 4WD | Easy–medium | Indoor, light outdoor | Medium | 4 × TT or 25 mm gear motors |
| Tracked | Medium | Rough ground | Low–medium | 2 × gear motors |
| Self-balancing | Hard | Smooth floors | High (once tuned) | 2 × encoder motors |
Checklist before you buy or build
1. Motors and wheels
Most kits use yellow TT gear motors, rated around 3–6 V and roughly 150–250 rpm. With 65 mm wheels, 200 rpm gives about 0.68 m/s, plenty for indoor robots. Check that the kit's motors match your intended battery voltage; see our motor comparison for alternatives.
2. Space for the electronics
Measure the deck. You need room for:
- An Arduino Uno (69 × 53 mm) or Nano
- A motor driver
- The battery pack, which is often the largest part
- Sensors at the front, such as an ultrasonic sensor on a servo or an IR array underneath
Two-deck chassis with brass standoffs make this much easier.
3. Battery fit
A 2 × 18650 holder is about 76 × 41 mm; a 4 × AA holder is about 62 × 58 mm. Decide on the battery before the chassis, using our battery comparison. Mount it low and near the center of the wheels for stability.
4. Sensor mounting
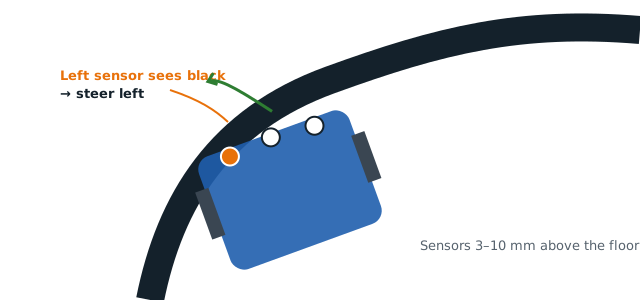
Line followers need their sensors 3–10 mm above the floor at the front. Obstacle avoiders need a clear forward view. Check the chassis has holes or slots where you need them, or plan to drill.
5. Build quality
Acrylic kits vary. Look for thick plates (at least 3 mm), metal motor brackets or sturdy clips, and wheels that fit the motor shafts snugly.
Building your own
A chassis can be as simple as a sheet of plywood, foam board or thin aluminum with motors held on by brackets and zip ties. A DIY base lets you size everything to your parts and teaches a lot about balance and weight distribution. Draw a top-view layout on paper first with every part to scale.
Our recommendation
For a first robot, get a 2WD acrylic chassis with two decks, two TT motors, a caster, a 2 × 18650 holder and a TB6612FNG driver. It is inexpensive, easy to wire and turns precisely, which makes it ideal for both the line-following robot and the obstacle-avoiding robot.
— TheSolderBench · found a mistake? tell me